

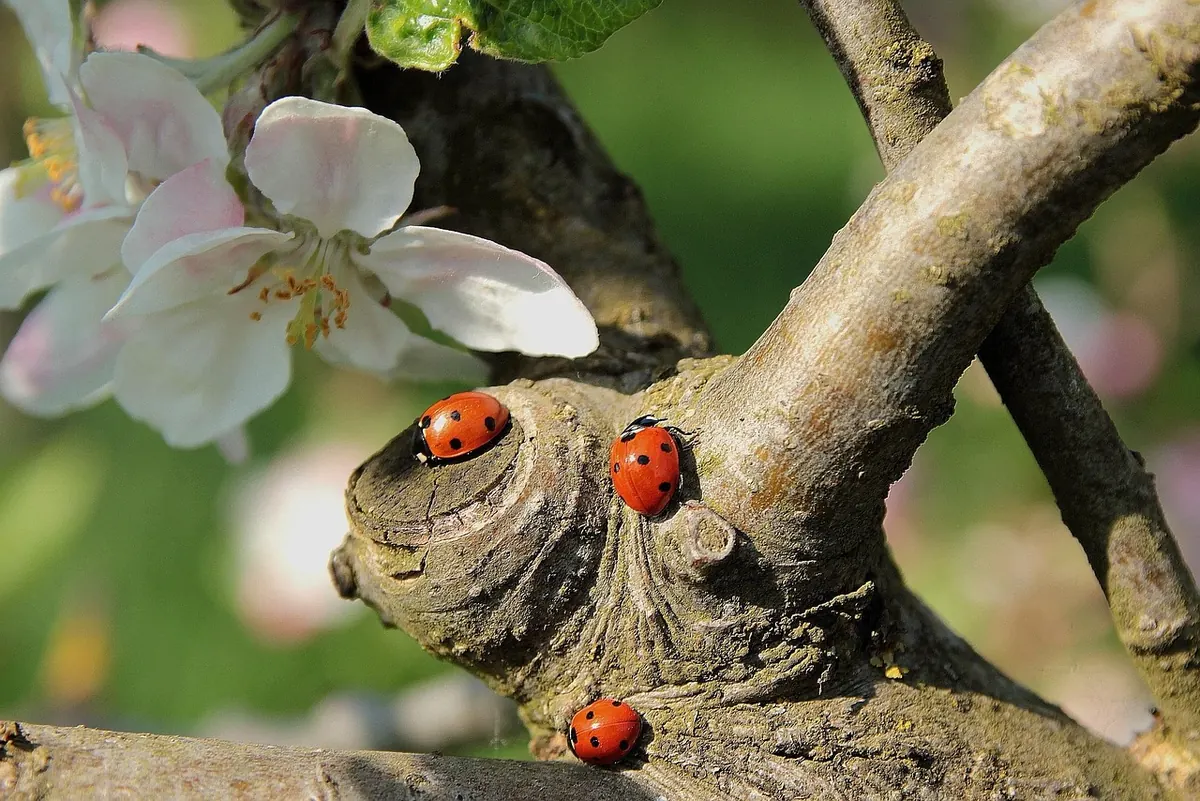
An apple tree will keep fruiting without any help from you. It will also, over a decade or so, turn into a congested thicket with small fruit growing out of reach at the top. Pruning is the difference between those two trees, and it is less complicated than the shelf of books on the subject suggests. Get the timing right, make three kinds of cut, and keep a picture in your head of what the tree should look like in ten years.
What pruning does, and what it cannot do
Pruning is not feeding. If a tree is weak, hungry or short of water, cutting bits off will not fix it. What pruning does is direct where the tree puts its energy, and how much light reaches the middle of the canopy. Light is what most gardens run short of: without it, fruit buds form only at the outer edges, apples stay small and colour poorly, and the still, damp air inside a crowded tree is exactly what fungal problems such as scab and canker prefer.
Think of the tree as working to a budget. It has only so much energy to spend each season, drawn up from the roots and manufactured in the leaves, and every branch you leave in place is claiming a share of it. Thin out the crowd and the wood that remains is better fed, better lit and better ventilated. That is why a well-pruned apple often carries fewer but larger apples than an untouched one — and why a tree you have left alone for years tends to give you a wheelbarrow of small, dull fruit instead of a basket of good ones.
A well-pruned apple also stays at a height you can pick from, which matters more with every passing year.
When to prune: the dormant window
For garden apples, the main season runs from leaf fall to early spring, with late winter — February into early March across most of the UK — the best part of it. The tree is dormant, the shape is easy to see without leaves in the way, and cuts made then begin to seal as growth starts in spring. There is a second advantage: the tree's stored reserves sit in the trunk and roots over winter, so the wood you remove is not energy the tree has recently spent building. Avoid working in hard frost, when frozen wood can shatter, and choose a dry, still day if you can: spores of canker and other wound-invading diseases travel on wet, windy weather.
What about summer pruning?
Summer pruning is for trained trees — espaliers, cordons, fans, stepovers. Cutting back this year's shoots in late July to early September keeps growth in check and nudges the tree towards fruit buds rather than more wood. It is not the moment for structural work on a free-standing tree; leave that to winter. Autumn is the one window to avoid, because wounds made then sit open through the wettest months with little chance of sealing over.
A light tidy-up of a free-standing tree in late August — shortening only the current season's whippy growth on over-vigorous branches — is harmless, but treat it as a supplement, never a substitute for winter work.
The three cuts that do nearly all the work
Read the wood first
Apple trees carry two kinds of bud. Fat, rounded buds sitting close to the stem are flower buds, and each one is next year's apple. Small, pointed buds are wood buds, which grow into shoots. Once you can tell them apart, most of the guesswork disappears — you can see where fruit will come from and avoid cutting it off. Run a thumb along a two-year-old branch and the difference is obvious: flower buds feel firm and bead-like, wood buds taper to a point. Most garden varieties are spur bearers, cropping on short, knobbly spurs on older wood, but a few fruit at the tips of last year's shoots. With those tip bearers, go gently with shortening or you will remove the crop.
- The thinning cut. Take a whole branch out, back to the trunk or a main limb. It opens the centre of the tree and, because you have removed the growing point, provokes the least regrowth. Most of your pruning should be this.
- The heading cut. Shorten a branch, cutting just above a bud or side shoot pointing where you want new growth to travel. Useful on young trees to build a framework, but overdo it and you get a dense mess of whippy shoots.
- The collar cut. This is how you remove a branch properly. Look for the slight swelling where the branch meets the trunk — the branch collar — and cut just outside it, angled away. Never cut flush. That collar is the tree's own healing tissue and it needs to stay.
Cut on a slight angle, a couple of millimetres above an outward-facing bud, so rain runs off rather than sitting in the bud. Do not paint the wound; leave it to seal itself. Keep tools sharp, because a clean cut heals and a bruised one invites disease.
Winter pruning, step by step
- Clean and sharpen your tools, and wipe the blades with methylated spirits or hot soapy water between trees — and between cuts if you are cutting out diseased wood.
- Stand back and look before you touch anything. Walk right round the tree, decide which three to five limbs will make the permanent framework, and picture the finished shape. Decide first, cut second.
- Start with the three Ds: dead, diseased and damaged wood. Take each one back to clean, healthy growth.
- Remove any branches that are crossing, rubbing or growing back into the centre of the tree.
- Open the middle. Take out inward-facing branches and anything crowding the main limbs, working from the inside outwards so you can see the space you are creating.
- Deal with the top. Strong, vertical shoots growing straight up off the framework — watersprouts — produce little fruit and shade everything beneath them. Take them out at their base.
- Shorten the previous season's growth on the tips of the main branches only where you need to steer growth outwards.
- Step back every few cuts. For an established tree, taking out roughly a fifth of the canopy in one winter is plenty.
- Clear the prunings as you go. Burn or bin anything diseased; do not put it on the compost heap.
A little pruning every year is the secret to never having to prune a lot in one.
A shape to aim for: the open goblet
Most garden apples are grown as an open-centred — goblet or vase — tree. The aim is a short, clear trunk, then three to five main limbs radiating outwards and slightly upwards at roughly 45 degrees, with a hollow middle. The simplest test is the old one: a blackbird should be able to fly through the centre without brushing a wing.
If you are training a young tree, build that framework over three or four winters rather than all at once. In the first winter after planting, choose three or four well-spaced shoots to keep as main limbs and shorten them by about a third, cutting to an outward-facing bud. Leave the rest of the tree alone. In the second winter, do the same with the leaders, and start removing anything that competes with the chosen limbs. By year four or five you are no longer building a shape, only maintaining it — and maintenance is a great deal quicker than construction.
Renovating a neglected tree
An old apple that has not been touched in fifteen years can be brought back, but not in a single afternoon. Cut too hard and you will trigger a forest of watersprouts and set the tree back for years.
- Year one: dead, diseased and rubbing wood only, plus one or two of the worst congested limbs.
- Year two: another quarter of the canopy, concentrating on the centre.
- Year three: finish the structure off and settle into normal winter maintenance.
Expect a poor crop or two while the tree adjusts. And if the trunk is hollow and full of rot, think twice before attacking it: an old hollow apple is a home for owls, bats and insects, and a gnarly, half-wild tree with cakes and cider in its future may be worth more to you than a tidy one.
Common mistakes that undo good work
- Cutting flush to the trunk. Removing the branch collar strips the tree of the tissue that does the healing.
- Painting wounds. Traditional, but it traps moisture and slows the tree's own sealing process.
- Pruning in autumn. Wounds stay open through the wet season, right when canker spores are travelling.
- Taking too much at once. More than about a quarter of the canopy in one winter invites a mass of weak regrowth.
- Blunt tools. A ragged cut is an open door; two minutes with a sharpening stone saves the tree a season of infection.
- Forgetting tip bearers. On varieties that fruit at the ends of last year's shoots, enthusiastic shortening removes the crop.
None of this requires a trained eye or expensive kit: a sharp pair of secateurs, a pruning saw and a lopper will cover most garden trees. What it does require is patience and a willingness to look before you cut — and to keep looking, each winter, at the shape you are slowly building.
Photo: Oldiefan / Pixabay